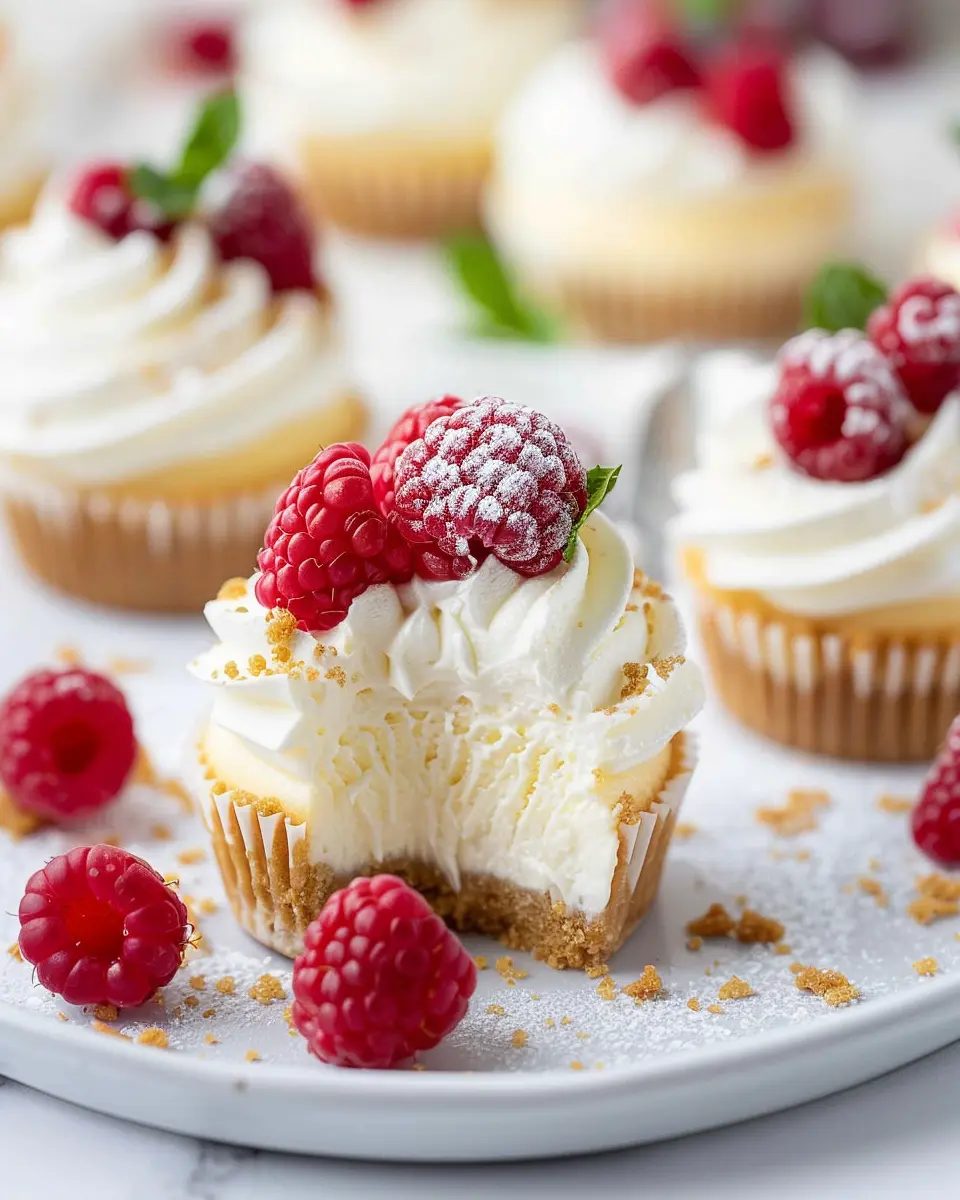
Introduction to Mini Cheesecake Cups
Are you a busy young professional who loves dessert but struggles to find the time to whip up an elaborate treat? If so, mini cheesecake cups might just be your new best friend! These delightful individual servings of cheesecake provide all the creamy, rich flavor of traditional cheesecake without the fuss. Perfect for on-the-go snacking or serving at your next gathering, they embody convenience without compromising taste.
The Sweet Spot for Busy Lives
In a world where schedules are packed, finding a dessert that is both quick to make and satisfying can feel like a tall order. That’s where mini cheesecake cups come in. With a straightforward preparation process and a refrigeration time that allows you to focus on other tasks, these little cups fit seamlessly into your lifestyle. They can be made ahead of time, leaving you free to tackle your work projects or enjoy a much-needed evening off with friends.
Why Mini Cheesecake Cups are Perfect for Young Professionals
- Quick to Prepare: With minimal baking and a straightforward recipe, you can whip these up in no time. Just a few mixing bowls and utensils, and you’re ready to go.
- Portion Control: If you’re the type who’s prone to overindulging, these mini portions will help you enjoy a sweet treat without guilt. A single cup is just the right amount to satisfy that craving!
- Customizable: The beauty of mini cheesecake cups lies in their versatility. Whether you want to sprinkle them with fresh berries, drizzle with chocolate sauce, or fold in a flavored cream, you can make them your own. It’s a dessert that allows for creativity without requiring culinary expertise!
Engage with the Culinary Community
Feeling inspired? Platforms like Serious Eats and Epicurious offer fantastic recipe ideas that can complement your mini cheesecake cups, whether you’re looking for accompanying sides, or tips on enhancing flavors.
In conclusion, mini cheesecake cups are more than just a dessert; they’re a flexible, easy solution for any young professional’s hectic life. So grab those ingredients, and let’s dive into the scrumptious world of cheesecake!

Ingredients for Mini Cheesecake Cups
Essential components for a delicious bite
Creating those mouthwatering mini cheesecake cups you dream of requires just a handful of essential ingredients. Let’s dive into what you need to make these delightful little treats that are sure to impress!
- Cream Cheese: The star of the show! Make sure it’s softened to ensure a smooth filling.
- Granulated Sugar: This adds sweetness to the mix. You can also try using honey or maple syrup for a natural alternative.
- Sour Cream: It brings creaminess and a slight tang that complements the cheesecake beautifully.
- Vanilla Extract: A splash goes a long way, adding that classic flavor we all love.
- Graham Cracker Crumbs: Use these for a crunchy base. Feel free to mix in some cocoa powder for a chocolate twist!
- Butter: Melted to bind the crumbs together, providing a rich taste.
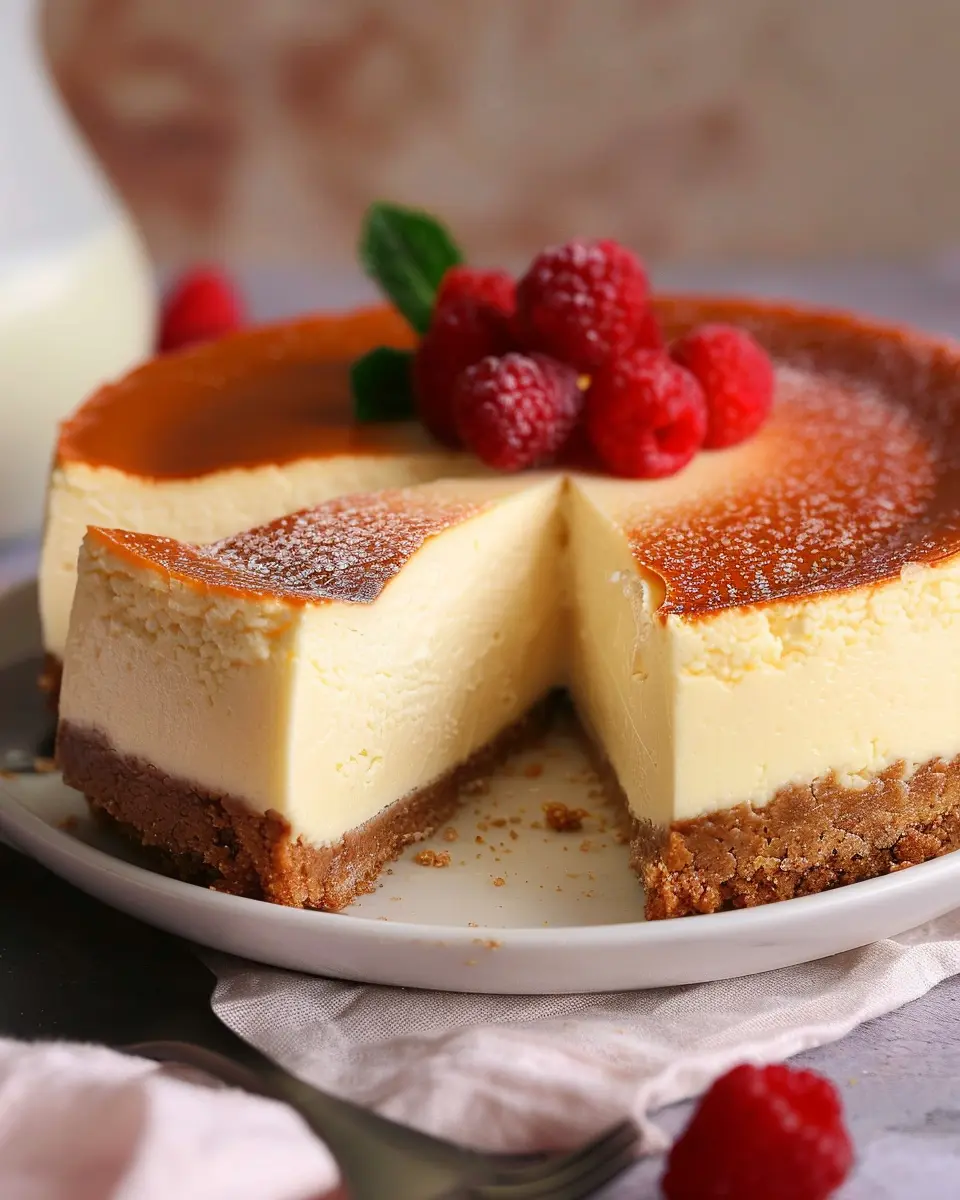
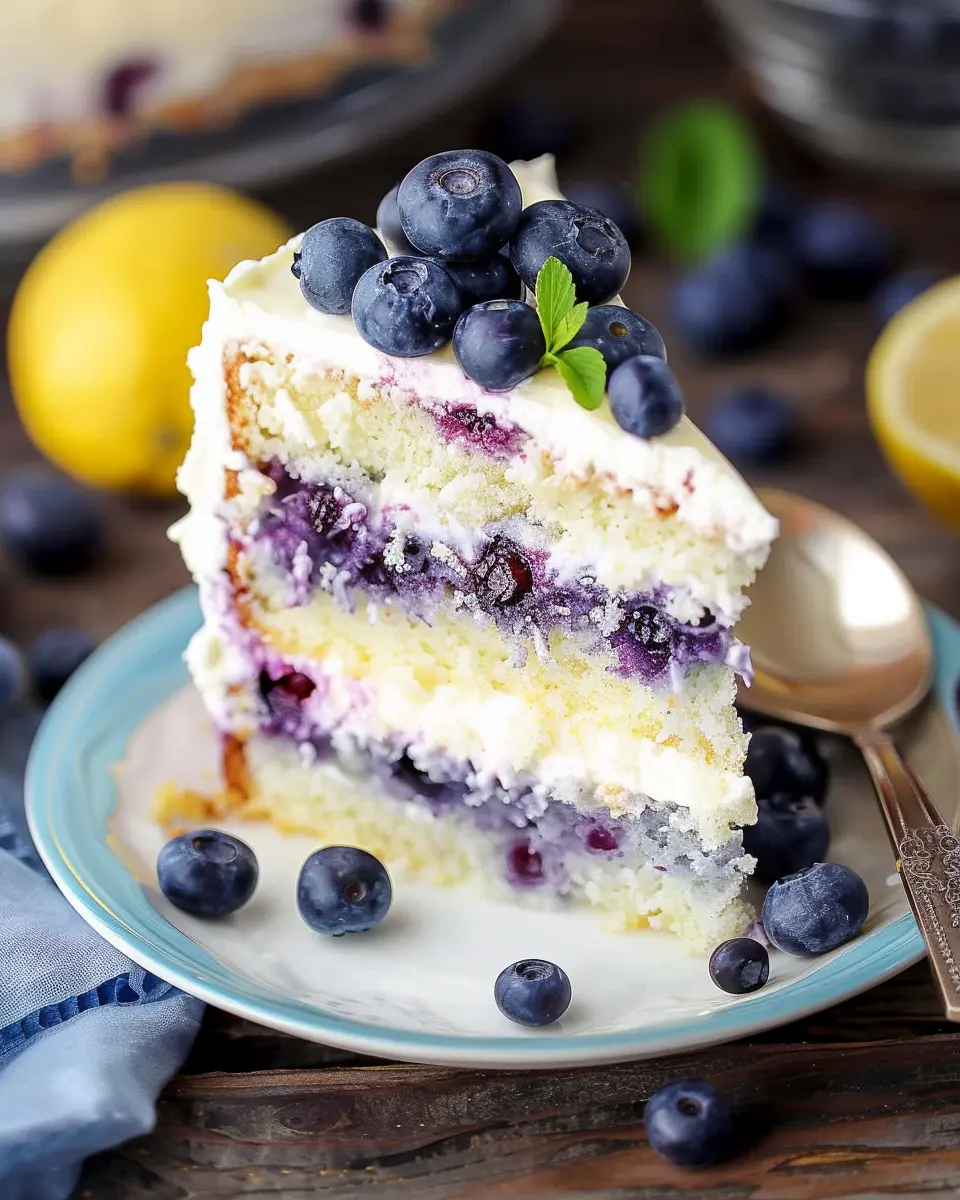
- Fresh Fruit: Top with strawberries, blueberries, or your other favorites for a pop of color and flavor.
With these simple ingredients, you’re well on your way to a perfect batch of mini cheesecake cups! For alternatives or more recipes, check out food blogs like Serious Eats and Bon Appétit. Happy baking!
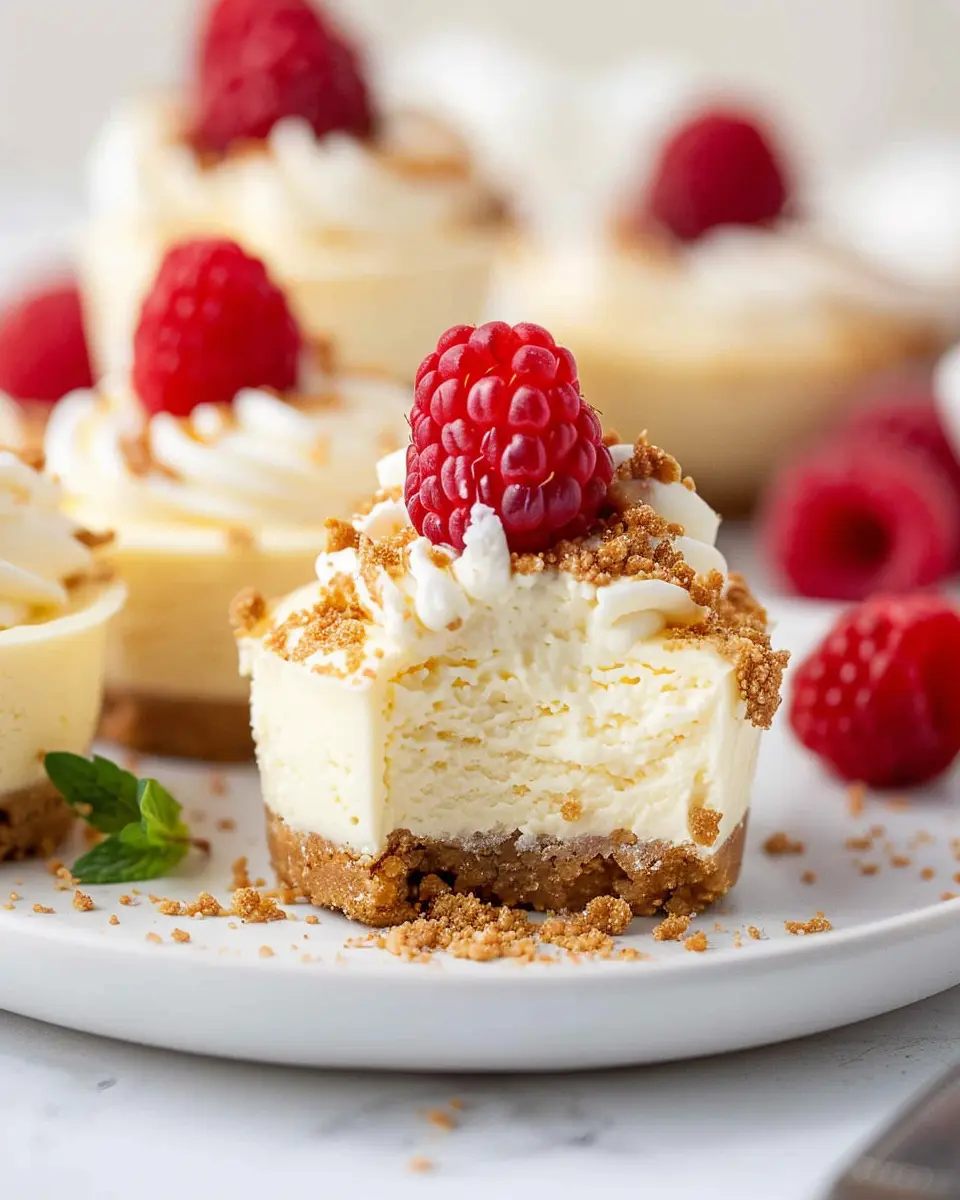
Preparing Mini Cheesecake Cups
Mini cheesecake cups are the perfect bite-sized dessert that balances an indulgent creaminess with a delightful crust. This treat is ideal for gatherings or simply satisfying that late-night craving. Let’s walk through the steps to create these delicious mini delights.
Gather Your Ingredients
Before diving into the deliciousness, it’s crucial to gather all your ingredients. A well-prepped kitchen makes the process smooth and enjoyable. Here’s what you’ll need:
-
For the graham cracker crust:
-
1 ½ cups crushed graham crackers (about 10-12 full crackers)
-
½ cup granulated sugar
-
½ cup unsalted butter, melted
-
A pinch of salt
-
For the cheesecake filling:
-
16 ounces cream cheese, softened (try to use full-fat for better texture)
-
½ cup granulated sugar
-
½ teaspoon vanilla extract
-
2 large eggs
-
½ cup sour cream or Greek yogurt for extra tanginess
This simple ingredient list gives you a rich flavor without the need for complicated steps.
Make the Graham Cracker Crust
The first step in making your mini cheesecake cups is the graham cracker crust. It’s one of the hallmarks of any cheesecake. Here’s how you do it:
- Preheat your oven to 325°F (163°C) to get it ready.
- In a mixing bowl, combine the crushed graham crackers, sugar, melted butter, and a pinch of salt.
- Stir until the mixture resembles wet sand. It should hold together when pressed.
- Line a muffin tin with paper liners or grease it lightly, and then evenly distribute the crust mixture among the cups.
- Press the mixture firmly into the bottom of each cup. This step is crucial to prevent the crust from crumbling later.
Create the Cheesecake Batter
Now comes the fun part — making the cheesecake filling. This creamy delight will make your mini cheesecake cups shine!
- In a large mixing bowl, beat the softened cream cheese until smooth and fluffy. This usually takes about 2-3 minutes.
- Gradually add the sugar, continuing to mix until well-combined. Scrape the sides of the bowl to ensure even mixing.
- Add vanilla extract, and mix again. Then, incorporate the eggs, one at a time, mixing just enough to combine after each addition.
- Finally, add in the sour cream or yogurt, mixing until smooth. The batter should be creamy without any lumps. You can even check out this comprehensive guide on cheesecake basics for expert tips!
Bake the Mini Cheesecakes
With your batter ready, it’s time to bake.
- Spoon the cheesecake batter into each cup, filling them about ¾ of the way full. Don’t worry about overfilling; they won’t rise much.
- Place the muffin tin in the preheated oven and bake for about 18-20 minutes. You want the centers to be slightly jiggly but set around the edges.
- Once they’re done, turn off the oven and crack the door slightly. Let them cool in the oven for about 30 minutes — this helps prevent cracking.
Chill and Prepare for Serving
Your mini cheesecakes need time to set, so patience is key!
- After cooling in the oven, transfer the muffin tin to your fridge. Let the mini cheesecake cups chill for at least 2 hours, but overnight is even better for flavor and texture.
- Once chilled, carefully remove them from the cups. They can be topped with fresh fruit, whipped cream, or a drizzle of chocolate sauce for extra flair.
There you have it! Your mini cheesecake cups are ready for any occasion — or just a sweet treat for yourself. Share these with friends at a gathering or save them for a luxurious evening at home. Enjoy every creamy bite!

Variations on Mini Cheesecake Cups
Fruity Delight Mini Cheesecake Cups
Refreshing and zesty, fruity mini cheesecake cups are a fantastic way to celebrate seasonal fruits. You can top your cheesecake base with a variety of fruit purees or fresh fruit slices. Think strawberries, blueberries, or even passion fruit. By blending berries into a sauce, you’ll create a vibrant layer that not only looks beautiful but also adds a sweet-tart flavor. For a fun twist, why not try a tropical option? Pineapple or mango compote can transport your taste buds to a sunny beach.
Chocolate Lover’s Mini Cheesecake Cups
If you’re a chocoholic, the indulgent chocolate mini cheesecake cups will sweep you off your feet. Simply add melted chocolate to your cheesecake batter for a rich flavor. To further elevate these cupcakes, consider drizzling some chocolate ganache on top or incorporating a chocolate cookie crust. You can even garnish with chocolate shavings or mini chocolate chips for that extra touch of decadence. This is the perfect option for those cozy movie nights in!
Seasonal Inspirations for Mini Cheesecake Cups
Take advantage of the seasons by experimenting with various flavors that fit the time of year. For instance, pumpkin spice mini cheesecakes are a must in the fall. In contrast, you can create a mint chocolate chip version during the winter holidays. The versatility of mini cheesecake cups means you can switch up your flavors throughout the year, keeping them exciting and relevant.
Explore even more ideas and variations at reputable cooking sites like Epicurious or Food Network, where you can find countless creative takes on this classic dessert. Enjoy crafting your own unique mini cheesecake cups!
Cooking Tips and Notes for Mini Cheesecake Cups
Avoiding Common Cheesecake Pitfalls
Making mini cheesecake cups can be a delightful experience, but there are a few common obstacles to watch for. One major concern is overmixing the batter, which can lead to cracks during baking. Mix your ingredients just until combined for that smooth, creamy texture. Also, make sure to use room temperature cream cheese; it blends easily and helps prevent lumps. If you’re aiming for that perfect density, avoid the urge to bake at too high a temperature—sticking to a gentle bake ensures a silky finish.
Best Tools for Mini Cheesecake Success
To create delicious mini cheesecake cups, having the right tools makes all the difference. Consider investing in:
- Silicone muffin liners: These make popping the cheesecakes out a breeze and eliminate mess.
- Hand mixer: A simple tool for achieving that dreamy, smooth consistency without the muscle strain.
- Piping bags: These help with filling your cups neatly and can even add a professional touch to your desserts.
For some great baking inspiration and tips, check out resources like Bon Appétit or Serious Eats. Happy baking!
Serving Suggestions for Mini Cheesecake Cups
Creative toppings and presentation ideas
When it comes to mini cheesecake cups, creativity can elevate your dessert game. Consider these fun topping options:
- Fresh Fruit: Strawberries, blueberries, or kiwi add a refreshing burst of color and flavor.
- Chocolate Drizzle: A simple drizzle of melted chocolate can transform your cheesecake into something decadent.
- Crumble Toppings: Use crushed graham crackers or Oreo cookies for a delightful crunch. Adding a sprinkle of nuts can provide a tasty crunch as well.
- Whipped Cream: A dollop on top gives a classic touch and makes each bite feel indulgent.
For presentation, consider serving these in individual mini mason jars or clear cups to showcase the beautiful layers!
Pairing mini cheesecake cups with beverages
Finding the perfect beverage to accompany your mini cheesecake cups can enhance the entire experience. Here are a few ideas:
- Iced Coffee or Cold Brew: The rich flavors of coffee can complement the sweetness of the cheesecake.
- Herbal or Fruit Tea: A refreshing mint tea or fruity iced tea balances the richness beautifully.
- Sparkling Water with Citrus: Add a splash of lemon or lime for a light, refreshing sip that cuts through the creaminess.
These pairing options not only heighten the dessert experience but also make for an inviting spread at gatherings. Check out this guide on beverage pairings for more ideas!
Time Breakdown for Mini Cheesecake Cups
Preparation time
Getting started on your mini cheesecake cups is quick and straightforward. You’ll need about 15 minutes to prepare your ingredients and set up your mini cups. This step includes crushing the graham crackers for the crust and mixing up your cheesecake filling. Prepping your ingredients with a friend can even turn this into a fun activity!
Baking time
The baking process for your mini cheesecake cups is relatively brief, taking around 25 minutes. Make sure to keep an eye on them; you want them just set without turning golden brown.
Chilling time
After baking, these delightful bites will need at least 2 hours to chill in the fridge. Chilling is crucial for achieving that signature cheesecake texture, so don’t skip this step!
Total time
In total, you’ll invest about 2 hours and 40 minutes from start to finish. However, most of that is just waiting for the chilling! You’re only actively cooking for about 40 minutes, making this recipe perfect for a busy lifestyle.
With a little planning, you’ll be savoring your homemade mini cheesecake cups before you know it! For more tips on enhancing your dessert game, check out this ultimate cheesecake guide.
Nutritional Facts for Mini Cheesecake Cups
When indulging in delightful mini cheesecake cups, it’s essential to be mindful of their nutritional profile. Each serving typically contains around 150 calories, making them a satisfying sweet treat without going overboard.
Key Nutrients
These little desserts pack more than just flavor:
- Protein: Approximately 3 grams, thanks to cream cheese and Greek yogurt.
- Calcium: A good source for bone health, contributing about 5% of your daily value.
- Carbohydrates: Roughly 20 grams, offering quick energy.
For more detailed dietary insights, you might want to check out Healthline or NutritionData. Balancing indulgence with knowledge can help you enjoy these delicious treats guilt-free while staying aware of your nutritional goals. What’s not to love about a dessert that ticks both boxes?
FAQ about Mini Cheesecake Cups
Can I substitute ingredients?
Absolutely! One of the best things about mini cheesecake cups is their versatility. If you’re out of cream cheese, you can use Greek yogurt for a lighter option. For a dairy-free twist, try coconut cream. And if you’re looking for alternatives to graham cracker crust, crushed nuts or even Oreos can work beautifully. Additionally, if you want a healthier sweetener, consider using honey or maple syrup instead of sugar.
How do I store leftover mini cheesecakes?
Storing your mini cheesecake cups is simple! If you have leftovers (which is a big if, let’s be honest), just pop them in the fridge. Use an airtight container to keep them fresh for up to five days. For longer storage, you might want to consider freezing, which leads us to our next question!
Can mini cheesecakes be frozen?
Yes, mini cheesecakes can definitely be frozen! Just ensure they are thoroughly cooled. Place them in a freezer-safe container or wrap them tightly in plastic wrap to avoid freezer burn. They can last for up to three months in the freezer. When you’re ready to enjoy, simply thaw in the fridge overnight or take them out for a few hours before serving.
For more tips on ingredient substitutions, check out resources like The Kitchn or if you need ideas on storing desserts, visit Serious Eats. Enjoy your culinary adventure with these delightful mini cheesecake cups!
Conclusion on Mini Cheesecake Cups
Final thoughts on homemade goodies
Creating mini cheesecake cups can be a delightful way to impress friends or simply indulge in a sweet treat at home. These little delights are not only adorable but also incredibly versatile. Homemade goodies like these allow you to customize flavors, control sweetness, and experiment with toppings, making them perfect for any occasion.
Moreover, they symbolize the joy of cooking—transforming simple ingredients into a delicious dessert that brings everyone together. If you’re looking for a fun way to update your baking repertoire, mini cheesecake cups are an easy win. For more inspiration, check out this fantastic site for creative dessert ideas. Happy baking!
PrintMini Cheesecake Cups: The Best Easy Treat for Any Occasion

Mini Cheesecake Cups are perfect for any occasion, combining creamy cheesecake with a delightful crust. These bite-sized treats are easy to make and sure to please.
- Prep Time: 20 minutes
- Cook Time: 25 minutes
- Total Time: 2 hours 45 minutes
- Yield: 12 servings
- Category: Dessert
- Method: Baking
- Cuisine: American
- Diet: Vegetarian
Ingredients
- 1 cup graham cracker crumbs
- 1/2 cup sugar
- 1/2 cup unsalted butter, melted
- 16 ounces cream cheese, softened
- 1 cup powdered sugar
- 1 teaspoon vanilla extract
- 2 large eggs
Instructions
- Preheat the oven to 325°F (160°C).
- In a mixing bowl, combine graham cracker crumbs, sugar, and melted butter. Press the mixture into the bottom of cupcake liners.
- In another bowl, beat the cream cheese until smooth. Gradually add the powdered sugar and vanilla, mixing well.
- Add the eggs one at a time, beating well after each addition.
- Pour the cream cheese mixture over the crust in the cupcake liners.
- Bake for 20-25 minutes or until set. Remove from the oven and allow to cool.
- Chill in the refrigerator for at least 2 hours before serving.
Notes
- You can top the cheesecakes with fruit or chocolate for added flavor.
- These can be made ahead of time and stored in the refrigerator.
Nutrition
- Serving Size: 1 cup
- Calories: 220
- Sugar: 15g
- Sodium: 150mg
- Fat: 12g
- Saturated Fat: 7g
- Unsaturated Fat: 4g
- Trans Fat: 0g
- Carbohydrates: 23g
- Fiber: 1g
- Protein: 3g
- Cholesterol: 30mg